Quick start guide #
Access ArmKVM (PiKVM) #
Once all your hardware connections are complete, connect to ArmKVM via Its Web UI.
ArmKVM st-v2 devices are equipped with a small OLED screen, which will display information such as the current IP address after startup. You can connect to the ArmKVM Web console through this IP address.By default, PiKVM receives a dynamic IP address via DHCP and shows it in the top row of the OLED display like this:
192.168.1.38
(|) iface: eth0
cpu: 1% mem: 13%
Let’s assume that PiKVM has received the address 192.168.1.38 and has also been assigned a hostname pikvm. Then user can type the URL in the browser’s address bar and press Enter: https://192.168.0.26/ or https://pikvm/.
Professional users or off-site monitoring personnel can log into the router to check the IP address assigned to the ArmKVM ST-V2. Our ST-V2 series generally has a default hostname of “pikvm”.
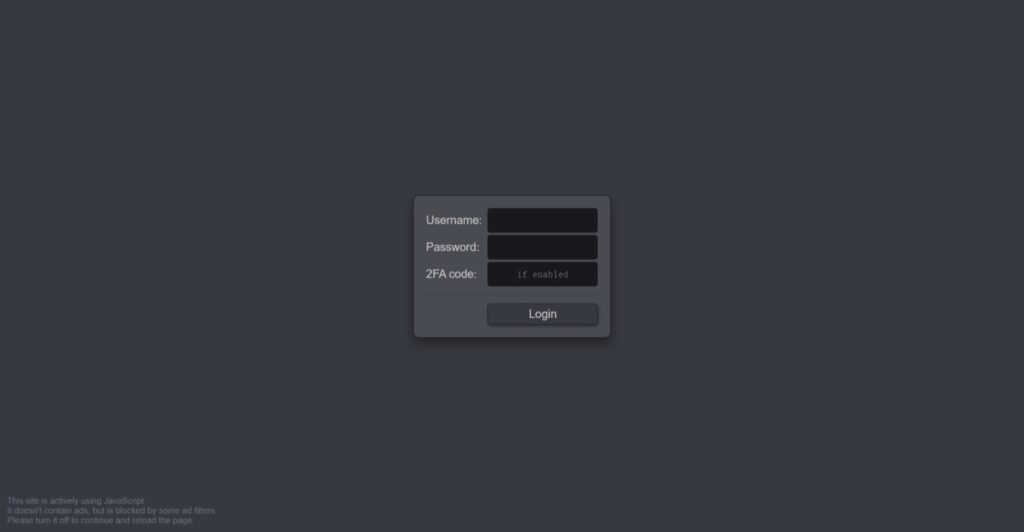
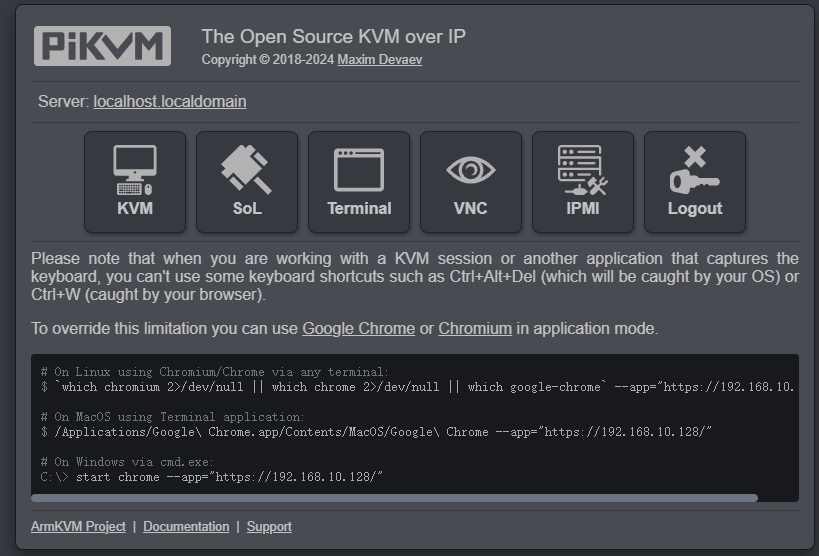
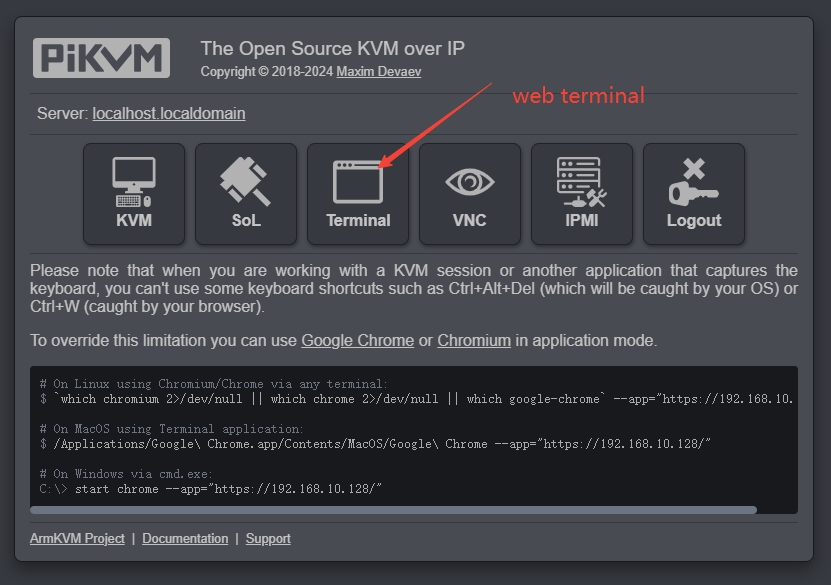
The Web UI console’s default username is admin, default password is admin, 2FA Code: disabled by default, skip this field, and click the Login button. You will see the initial dashboard screen of the PiKVM where you can access the remote host, connect to the PiKVM command line, or log out:
Change the default passwords #
For security reasons, please immediately change the following two passwords: Web UI access and Linux superuser (root).
To do that:
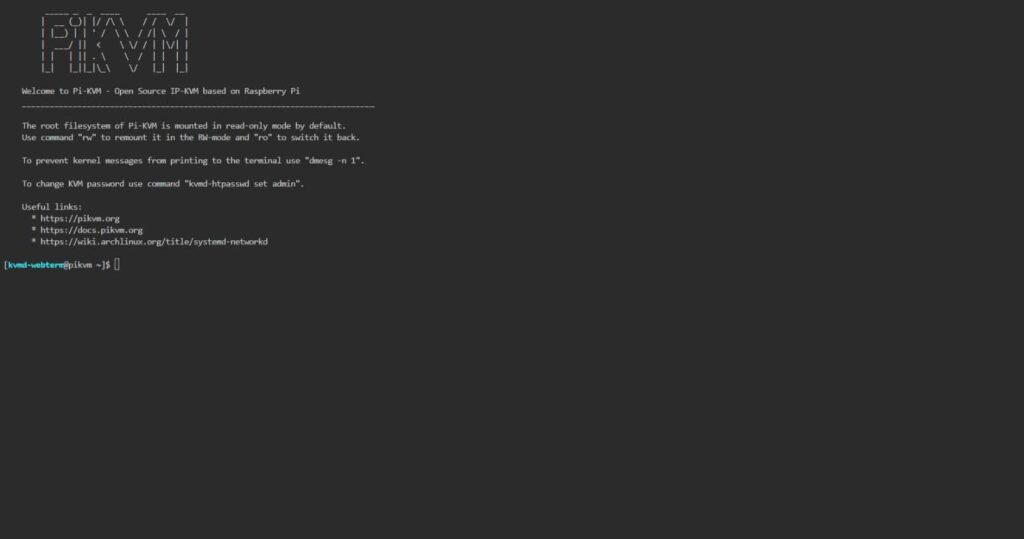
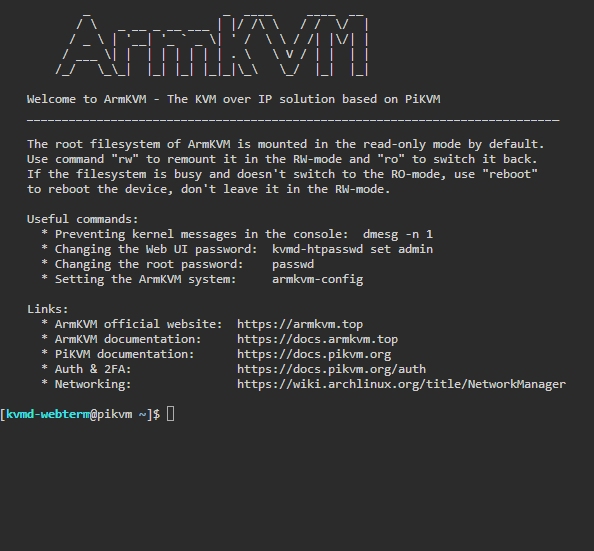
1.- On the initial dashboard screen, click the Terminal button to open the web terminal. You will see this command line interface:
2.- Gain superuser privileges:
$ su -3.- Run rw to change the access to the SD card to the write mode:
[root@pikvm ~]# rw4.- Change the password for the superuser:
[root@pikvm ~]# passwd rootSubmit the new password, retype it the second time to confirm, press Enter, and you should see this:
passwd: password updated successfully5.-Change the password for web access:
[root@pikvm ~]# kvmd-htpasswd set adminSubmit the new password, retype it the second time to confirm, and press Enter.
6.-Run ro to change the access to the SD card back to the read-only mode:
[root@pikvm ~]# ro7.-Press Ctrl+D or type “exit” and press Enter to drop the root privileges.
8.-Go back one page in the browser. You should be back to the initial dashboard screen.
Access the remote system #
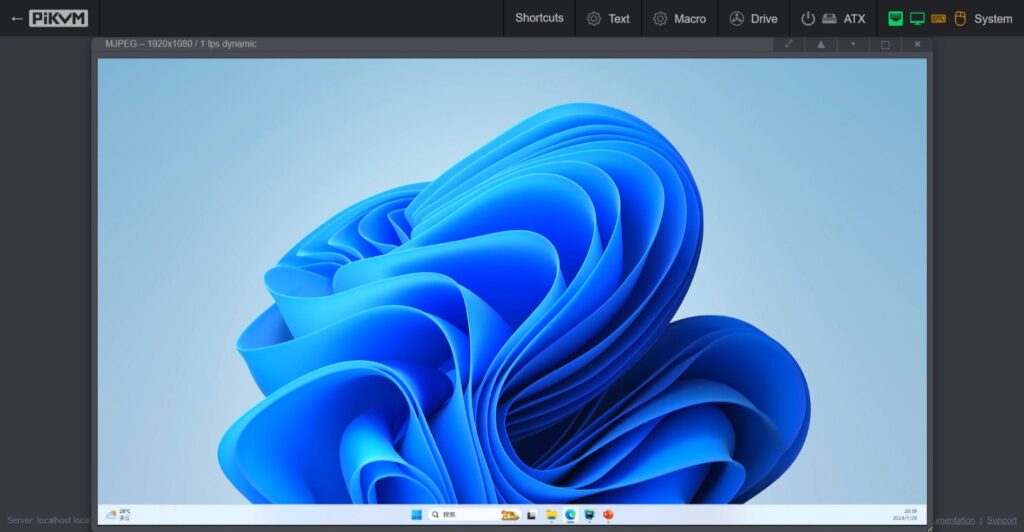
- On the initial dashboard screen, click the KVM button to access the remote host.
- You should now see the host system’s display and interact with it remotely using a keyboard and a mouse.
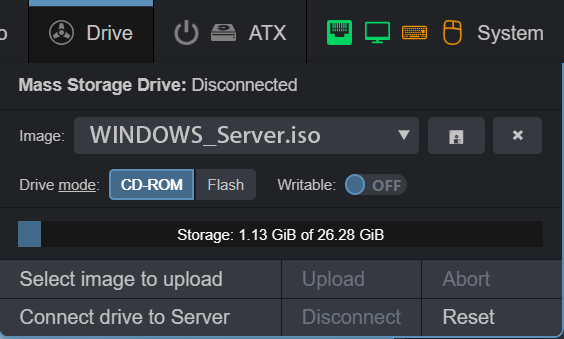
Upload Image (Mass Storage Drive) #
Terminal over the web (Web TTY) #
For more information please go to :https://github.com/tsl0922/ttyd
Serial over LAN (SoL) #
If you want to use Sol function via ST-2 Armkvm, you may need an RJ45 to RS232 cable.

At web console interface (TTY)Input the command:
$ picocom /dev/kvmd-solFor more information about how to use picocom, please go to : https://github.com/npat-efault/picocom
Change the web UI language #
At web Terminal, type the following command and select option 1 to change the web UI language:
$ armkvm-configCurrently support English, Simplified Chinese, and Traditional Chinese.


